WhatsApp is one of the most widely used instant messaging application available for different platforms. It has almost all the features that an Ideal Messaging app should have. What if we tell you that you can schedule your Whatsapp Messages to automatically send the text by just setting the timestamp for that message. Yes, you heard it right!! There are some ways by which you can easily Schedule WhatsApp Messages to be sent later. For rooted Android devices, you can install WhatsApp Schedule App from Google Play Store or else you can simply schedule your messages using SQEdit and GBWhatsapp. In this post, we have discussed some of the methods by which you can schedule your Whatsapp messages in some simple steps.
Schedule WhatsApp messages via rooting your android device
For scheduling WhatsApp messages in this method we first have to make our device root. We can start rooting process, by enabling USB debugging mode on Android smartphones. For enabling USB debugging, go to the, Settings> Developer Option> USB debugging> Click Enable. Nowadays, Developer Option is Hidden in Android 4.2.2 & above, for showing this option, you need to go to the Settings > About phone > Build Number ( you’ve to click on it multiple times, at least 7 times until it shows that now you are a developer.)
After doing this, install WhatsApp Schedule app, and here you can schedule your messages.
Method 1: Auto-scheduling app: GBWhatsapp
Another method for scheduling Whatsapp messages is via using GBWhatsApp. Let us done this step by step:
- The first step is to download the latest version of Whatsapp GB apk on your Android device.
- Next, we need to enable installation from unknown sources from the settings and then install GBWhatsapp, and then Login to this app by using your Whatsapp number.
After installing is done, you can use this app for scheduling your messages. Now you can send your messages at the desired time.
Must Read: How to Delete WhatsApp Account Permanently
Methods 2: Scheduling Whatsapp messages without rooting your device
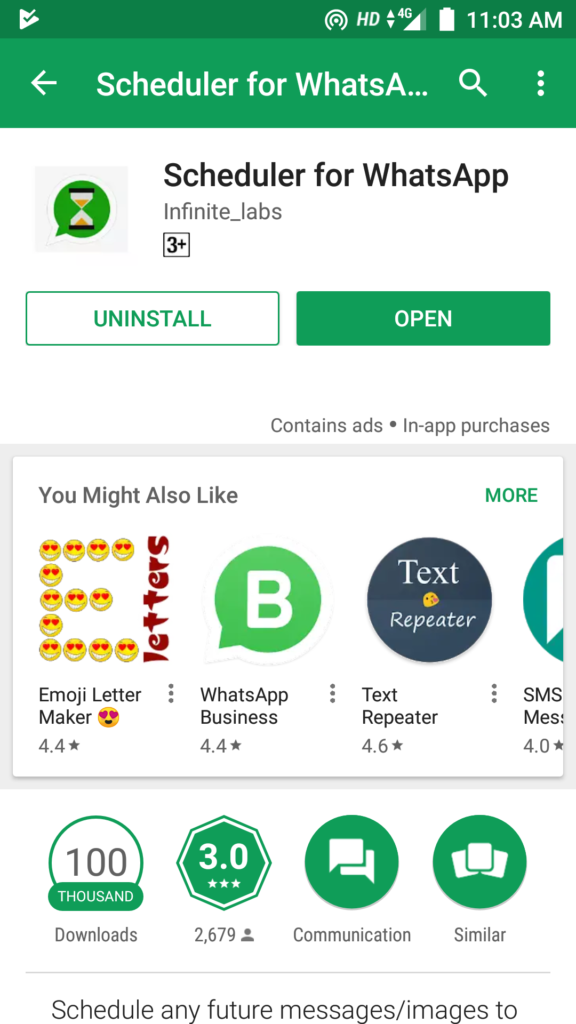
One of the most suitable methods for scheduling your messages is to do by using Whatsapp Scheduler App. We will discuss how to schedule your WhatsApp message without rooting your Android device. In order to do so, we first have to download Whatsapp Scheduler app from Play Store.
Step 1. Download Whatsapp Scheduler, and install it on your device.
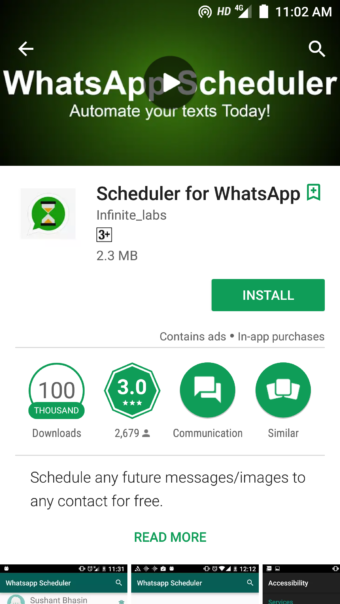
Step 2. After the installation has been finished, open it on your device.
Step 3. After opening the app, you will need to enable accessibility settings for
Whatsapp Scheduler. Click on the Ok button, and then turn ON the Whatsapp Scheduler.
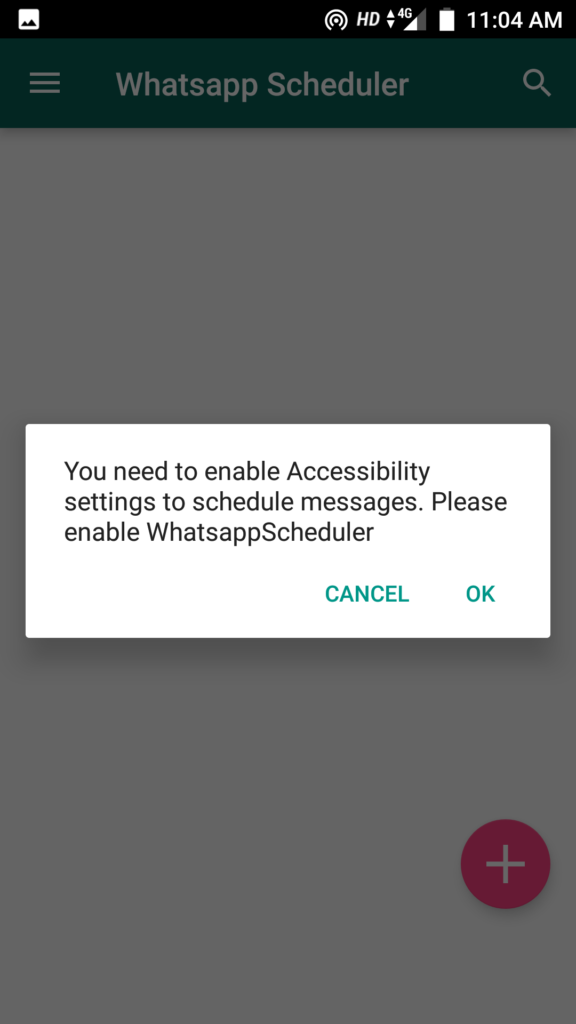
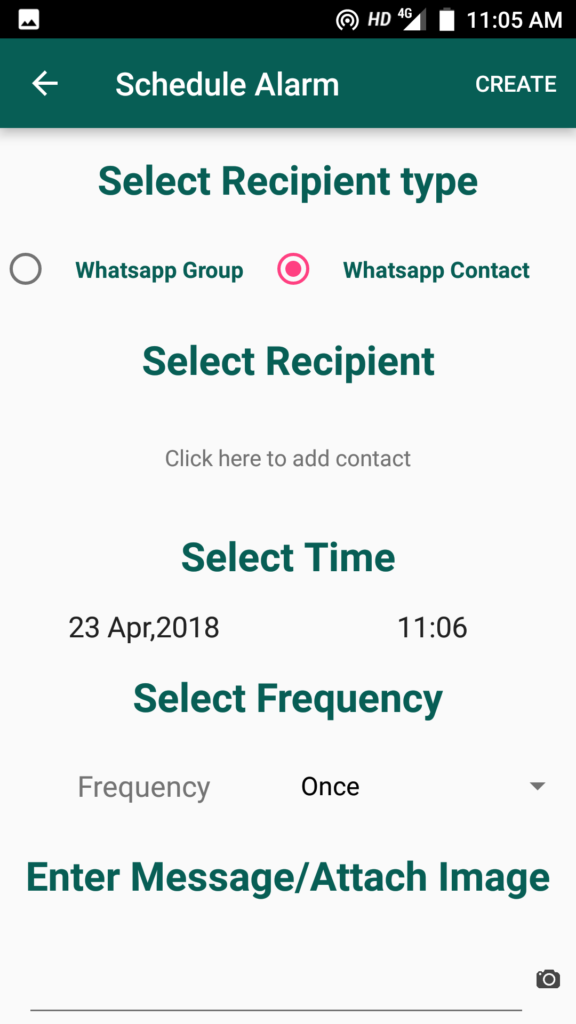
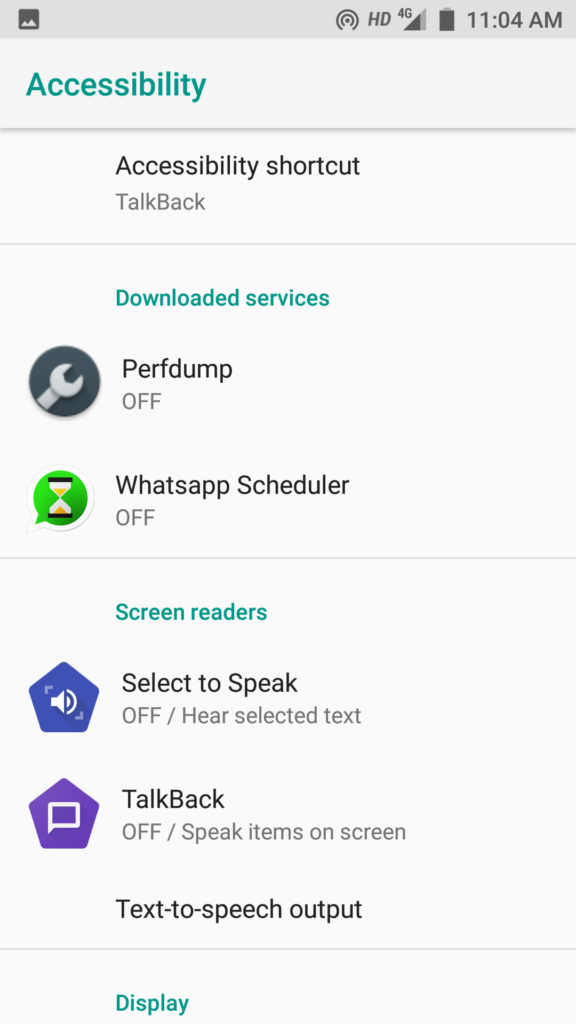 Step 4. After turning ON the Whatsapp Scheduler, now you can schedule your messages by clicking on ‘+’ icon.
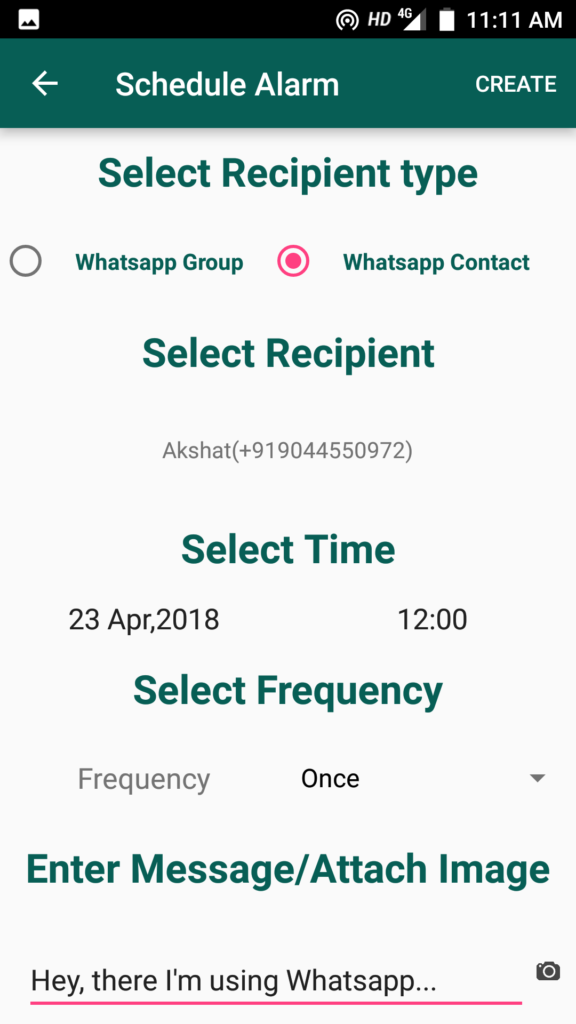
Step 5. Now when you click on ‘+’ icon, the system will ask for Selecting Recipient type, Recipient and Time. You can also add frequency if you want. You can select everything according to your preference.
 Step 6. If after scheduling your message, you want to delete it for some reasons then you can easily delete it. All you have to click on delete icon, then have to press Yes.
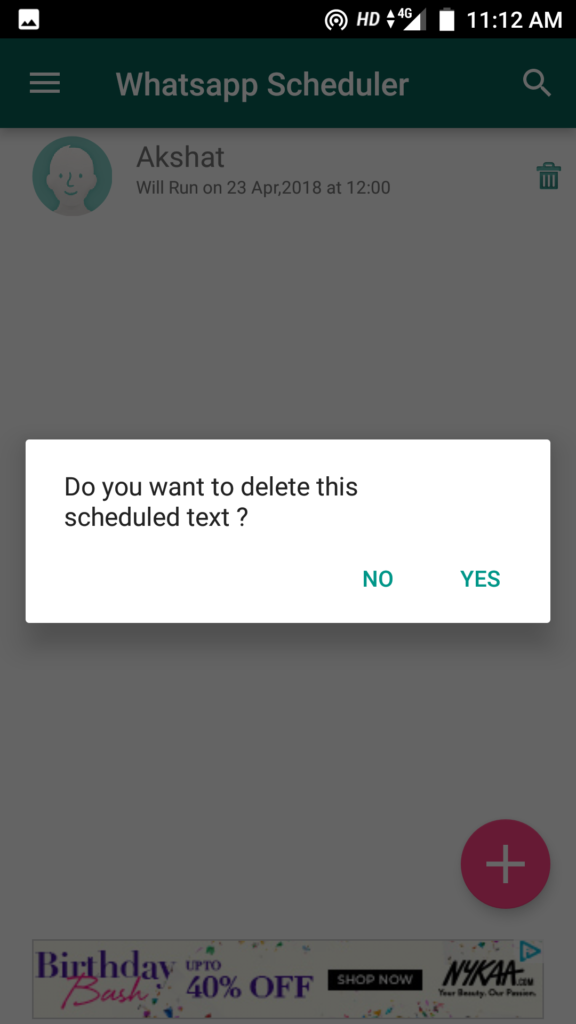
Here, we have done with scheduling our messages and also deleting it if required.
Also Read: How to Save WhatsApp Status Without Taking Screenshots
Wrapping Up
So these are the various methods which you can use for your Android device for scheduling your important messages. You can use any of the methods for sending your message and can deny it or delete it according to your preferences.
If you have any queries regarding any of the methods mentioned above, do comment down in the comment section. We would always love to hear back from you.




Akansha,its really so easy